MoneyWorks Manual
Password Protecting your File
The first step in securing your accounting data is to password protect the file, so that only people who know the user and password can access it. To password protect your file:
- Choose Users and Security from the File menu
The Password Control dialog box will appear

Note The Users and Security command is only available to a user with administrator privileges. Other users will see the command as Change Password.
- Turn on the Password Protect “Document Name” check box
The dialog box will expand to show the user list.
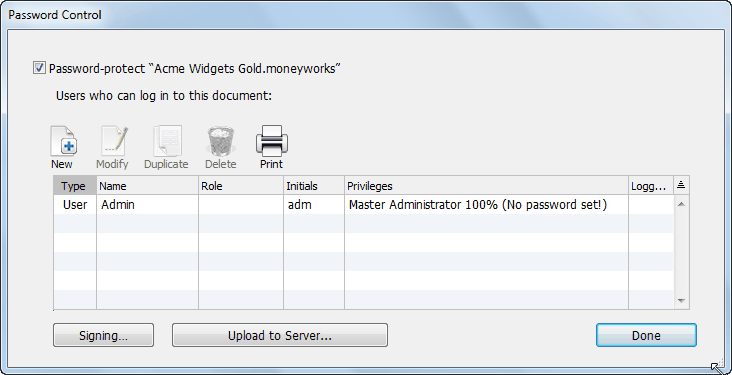
MoneyWorks has already inserted a user called Admin who has all privileges. The first thing you should do is assign a password to this user. You may also want to change the user name and initials from Admin/adm to something else.
- Double-click the user Admin in the list
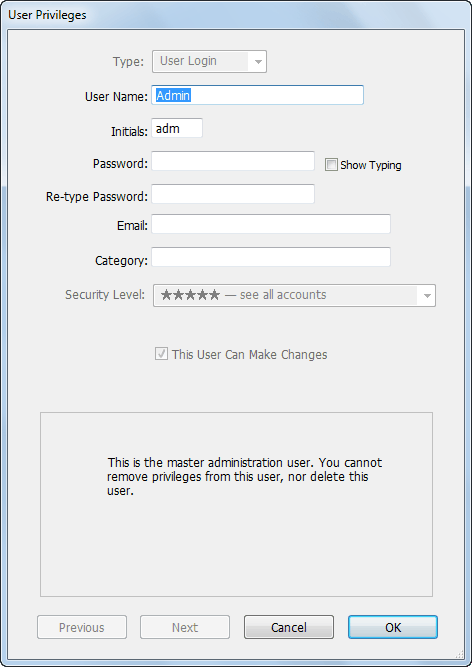
The User Privileges dialog box for Admin will open. Admin is the Master Administration User who always has access to everything (you can’t change Admin’s privileges). You should at least assign a password for this user, and you can also change the name and set the initials.
- Change the User Name and Initials if desired
The initials may be up to 3 characters, and can be used in place of the User Name when you log in. The initials of the currently logged-in user are permanently recorded against every transaction or job sheet entry that user enters and/or posts. When sharing on the network, the initials are also recorded for the purposes of the Rollback command.
Note: Each user must have a unique name and set of initials. This if both Joan Smith and Jack Straw are set up as users, they cannot both have their initials as “JS”.
- Type a password into the Password field
The password you type will show up as bullets (••••) or asterisks (****).
- To make sure you got it right, type the password again into the Re-type Password field.
If no-one is looking, you can turn on the Show Typing check box which will let you see the password instead of •••• or ****
Note: User Names and passwords are case-insensitive in MoneyWorks.
- Specify the user’s email address in the Email field
This will be used as the Reply To email address for emails created from MoneyWorks (and for the BCC address for emails sent via the inbuilt SMTP)—see Emailing.
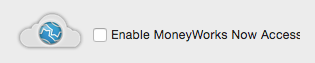
- If you are connected to MoneyWorks Now (the MoneyWorks cloud service), and want this user to also be able to access the file, turn on the Enable MoneyWorks Now Access check box
An email will be automatically sent to the user inviting them to access the file. They must click the Activate MoneyWorks Access button in the body of the email to be able to access the file.
Note: The check box is only available if you are connected to a MoneyWorks Now file.
- Specify an optional category for user in the Category field
This field is intended to provide information about the user that can be accessed from reports and scripts. For example, a report may self-configure depending on whether the user category is “SalesPerson” or “Manager”.
The category can be up to 31 characters long, allowing you to overload the data in the field. For example, you might use a convention of “branch:reportsTo”, so a report or script knows that user “JOE”, who has a category of “NY:ANN”, is in the New York office and reports to “ANN”. Thus a sales report that Joe runs could automatically print out just for New York. Similarly a script could check that any purchase orders raised by Joe have been approved by user ANN.
- Click OK
The Master Administration User is now secured with a password. Now we can set up additional users who will probably have different privileges.