MoneyWorks Manual
Customising Your List
It is easy to customise the lists so that they present information in the way that best suits your needs. You can move the columns around, resize then, and even add additional columns of your own.
Resizing Columns
The columns in any of the list views can be resized by positioning the cursor between the column headings and dragging left or right.
Moving Columns
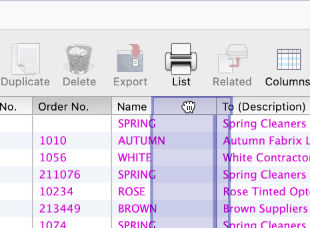
You can rearrange the order of the columns by dragging the column heading to the left or right, until the cursor is near the gap between two other columns (you will see a blue insertion indicator between the columns where the column will be moved).
Inserting and Removing Columns
To add and remove columns:
- Choose Edit>Customise List View, or right click in the list and choose Customise List View, or choose Customise List View from the Columns toolbar menu
The List View Options window will be displayed.
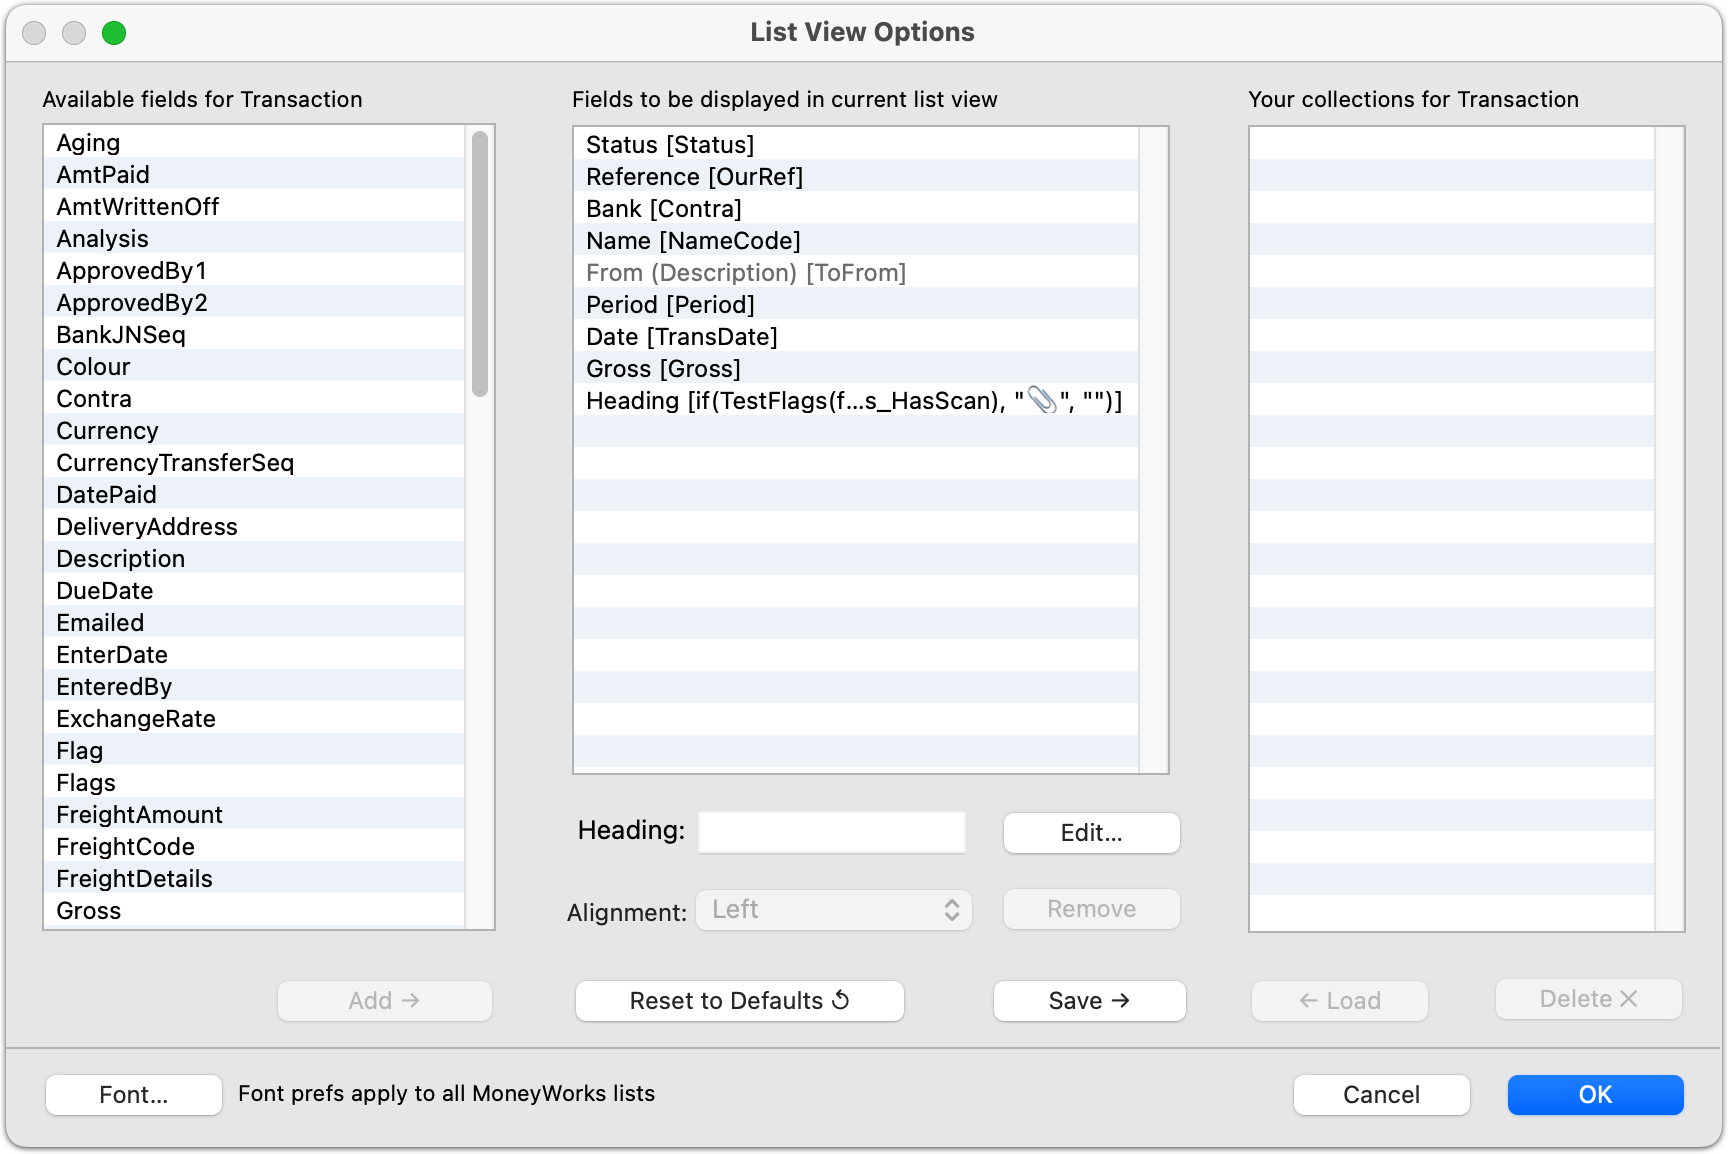
The list on the left contains all the eligible columns which can be displayed, and that in the middle contains the columns currently displayed in the list.
To remove a column: Select it in the middle list and click Remove. Columns that are greyed out may not be removed.
To re-order the columns: Drag the columns up or down in the right hand list.
To rename a column heading: Click on the column in the right hand list and type the new heading in the text entry field at the bottom of the list.
To apply the changes to the current list click OK:
Custom list collections
If you want to be able to easily apply your customised columns to another list view, or to easily switch between alternative sets of columns for a list view, you can save the current set of columns in the Collections list.
To save the current set of columns for instant recall later: Click Save →. You will be asked to type a name for the set of columns. The named set of columns will be added to the Collections list on the right hand side. If the name you give is already used, the existing entry in the collections list will be replaced.
You will be able to select the set of columns from the Columns toolbar menu.
Changes will be applied when you click OK.
To replace the columns in the middle list with a set from the collection list: Select the named set of columns in the Collections list and click ← Load.
This has the same result as selecting the set of columns from the Columns toolbar menu, without visiting the Customise List View window.
Changes will be applied when you click OK.
To delete a column set from the collection list: Select the named set of columns in the Collections list and click Delete.
Changes will be applied when you click OK.
To change the font used in the lists: Click the Font button to open the MoneyWorks font preferences settings, which allows you to set the list screen fonts and the list print fonts —see Fonts. Any changes you made will be reflected in all MoneyWorks lists for any MoneyWorks document on your computer.
Tip: To show the records in a file in the order in which they were created, sort your list by SequenceNumber.
Calculated Columns
As well as showing stored field values, lists can be set to show values that are calculated on the fly. Discretion should be used with this feature, as results that depend on excessive calculation (such as the summing records in another file) may seriously impact performance.
To insert a calculated column
- Move the field “Heading [Your calculation here]” into the right hand list of the List View Option window
This will always be at the bottom of the left hand list
- Click the Edit button
The Calculation window will be displayed
- Enter your calculation expression and column heading
- Click OK
If your expression is incorrectly formed (i.e. MoneyWorks can’t understand it), you will get an error message, and you will need to correct the expression—see Calculations and things
If your calculation returns a numeric result, set the alignment to Decimal. This will ensure it is totalled whenever the list is printed.
You can add an optional format expression which alters how the information in the list is displayed, but not how it will be sorted. The format expression is separated from the calculation by a semicolon, and can access the calculated result by the use of a special _result variable.
For example a column in the Transaction list with a calculation of:
DayOfWeek(transDate)
will display the number of the day of the week of the transaction (1 for Monday, 2 for Tuesday and so forth). However:
DayOfWeek(TransDate);Choose(_value, "Mon", "Tues", "Wed", "Thurs", "Fri", "Sat", "Sun")
will display the day name, but the column will sort numerically by day number.
On Datacentre you can copy all settings (including custom columns, filters, validations, and other settings) from one user to another. See Copying Settings between users.