MoneyWorks Manual
Committing the Stocktake
Once you have entered and checked the new stock count figures, you can commit the completed part of the stocktake. Again this can be done for the entire stocktake, or just for parts of it. When you commit the stocktake, appropriate stock write-off or creation journals will be created to adjust the stock levels.
Note: Unless you want to do the stocktake in stages, or have different product classes that you want to write off to different stock adjustment accounts, you don't need to use the Commit feature—instead finalising it will have commit all the stock adjustments for you.
To commit a partial stocktake
- In the Stocktake view of the Items list, highlight the records for which the stock count has been entered (and checked)
- Click the Commit Selected toolbar icon (or choose Command>Stocktake>Commit Selected)
The Commit Stocktake confirmation dialog will be displayed.
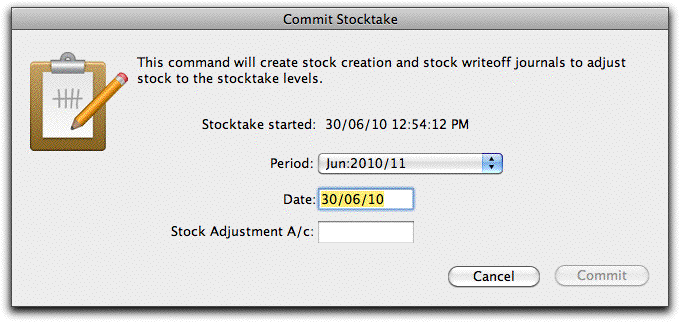
- Enter the date and period in which the journal should be created
This should normally be the same period as the stocktake snapshot.
- Enter the Stock Adjustment Account
This is the general ledger code that the stock items will be written off against. You might have a special Stock-Writeoff account for this, or you might elect to use the cost of sales account code. When writing-off stock, this account will be debited, and the stock asset account credited (and vice versa for a stock creation).
- Click the Commit button
The stock journals will be created, and the Snapshot quantity replaced by the counted value.
Provided the stocktake has not been completed, you can (if needed) subsequently correct the stock count by changing the counted value in the Stocktake list and recommitting the corrected records.