MoneyWorks Manual
Setting up Roles
Before you set up additional users, it might be an idea to consider setting up roles for each of your types of users (e.g. sales, payables, receivables). A role can be assigned to different users, so if you have four sales staff for example, you don’t need to set up their privileges separately.
To create a new role:
- In the Users and Security dialog box, click the New toolbar icon above the users list (or press Ctrl-N/⌘-N)
A new User Privileges window will open.
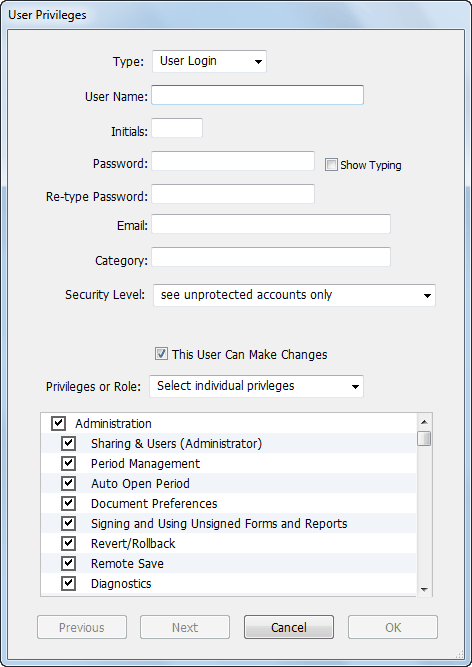
- Set the Type pop-up menu from “User Login” to “Role”
The contents of the window will change to show the role information.
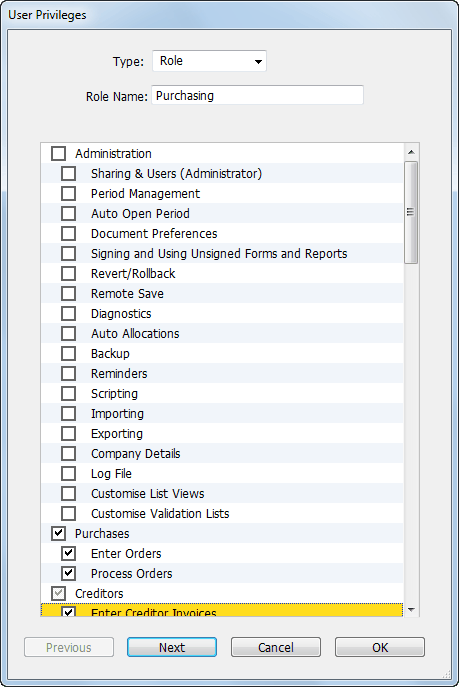
- Enter a unique name for the role into the Role Name field
This is the name that you will see in the user/role list. It should be something descriptive to indicate the type of users who should be assigned to the role.
- Set the appropriate privileges for the role
These are the operations that users with the role can perform. A table of privileges is provided here.
- Click OK to save the role
Tip: If the role is largely the same as a previously created role, just duplicate the other role, assign a new name and turn on/off the appropriate privileges.